How to Install an Oak Lean-To Pergola Step by Step
Installing an oak lean-to pergola is one of the best ways to extend your outdoor living space. Whether you prefer an open-roof design with exposed rafters or a fully covered structure, this guide will help you build a sturdy, beautiful oak pergola attached to your house.
1. Plan and Measure Your Space
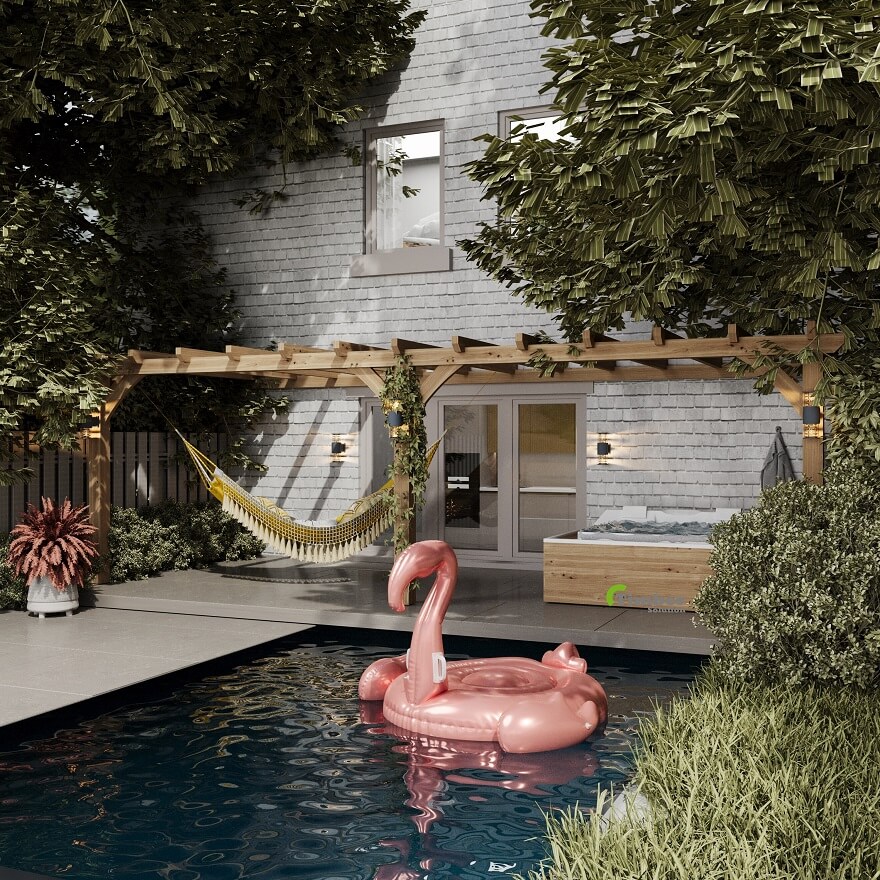
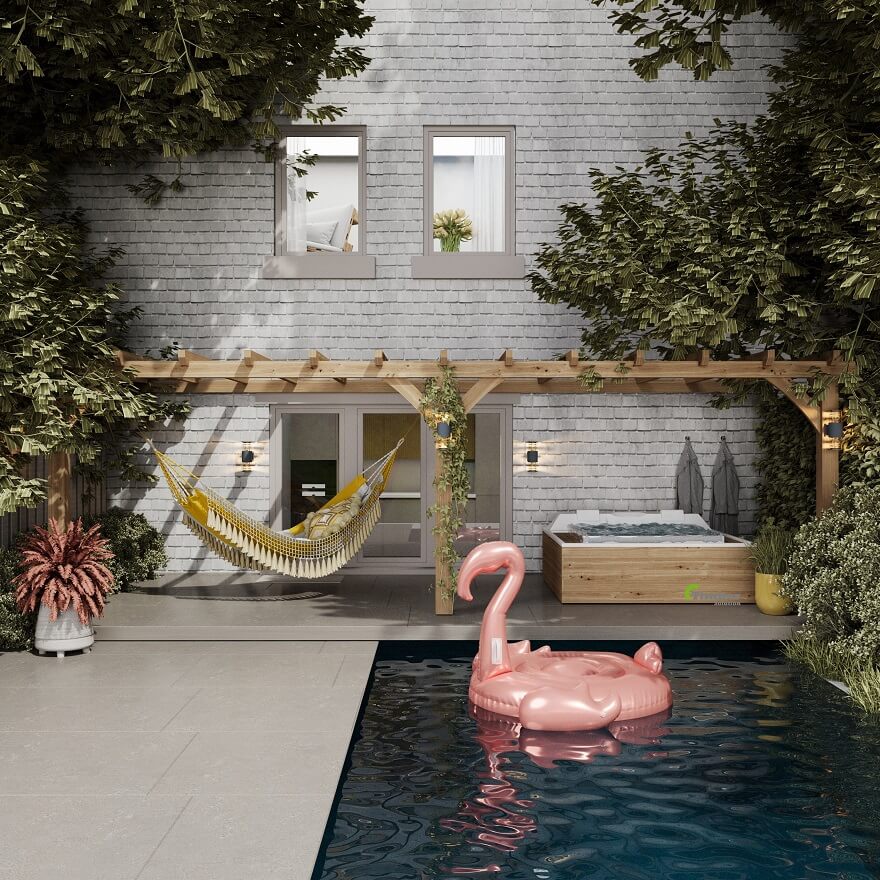
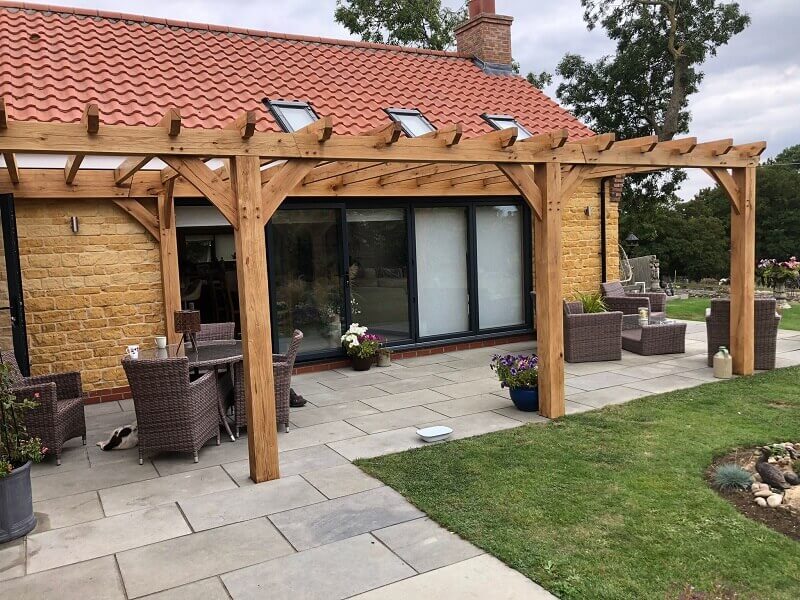
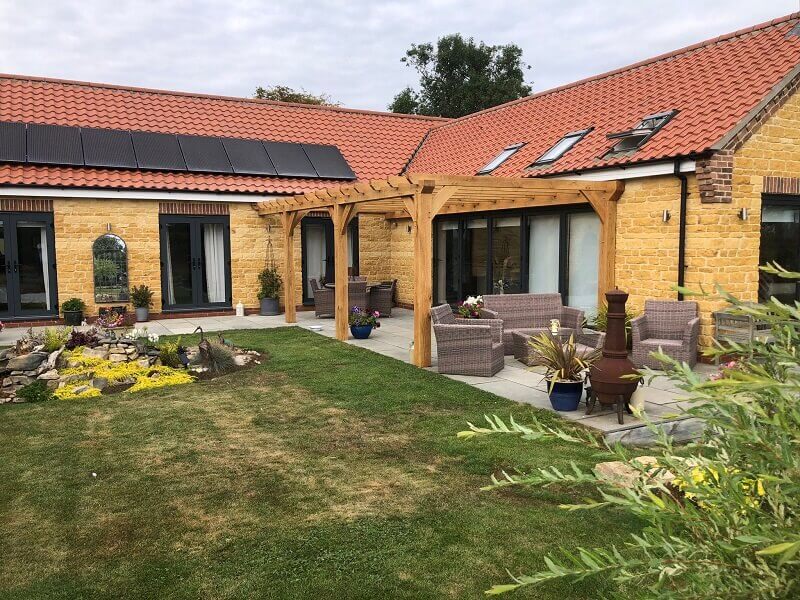
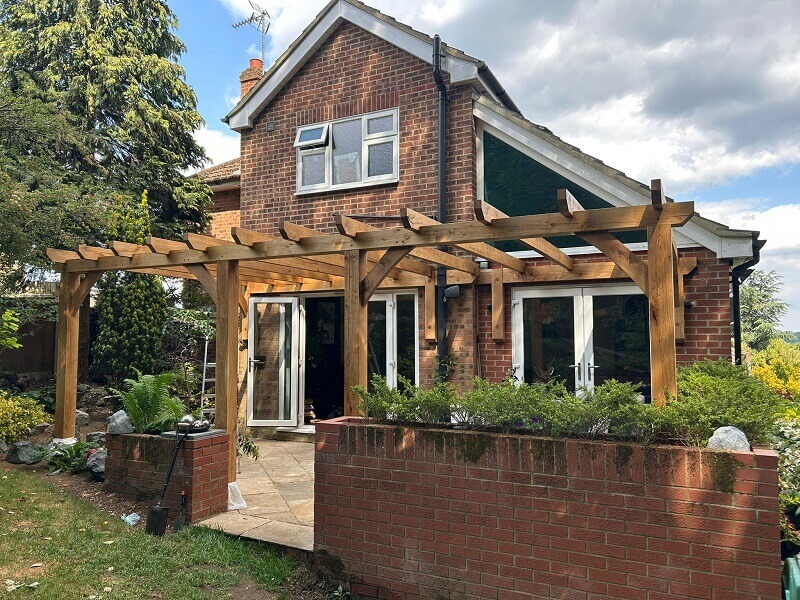
Start by deciding where your pergola will go. Measure the area carefully, ensuring enough room for doors, windows, and roof overhangs. Check both sides of the proposed structure—especially for any windows on the first floor that might be affected by the pergola roof pitch. In many cases, a pitched oak lean-to pergola could reach or block part of a window above.
Also, inspect gutters and downpipes near the installation area. Make sure the pergola roof won’t interfere with existing drainage systems or require relocation. Proper planning here prevents future issues with water flow or access.
Finally, consider the roof slope for efficient water runoff, and ensure the pergola complements your home’s proportions and layout.
2.Prepare the Base and Foundations
Before digging, check for any underground cables or pipes. Create solid foundations—usually concrete pads or footings—for each post. These should be level, square, and strong enough to support the oak structure. A solid base ensures long-term stability.
3. Structural Integrity and Wall Condition
Before attaching your pergola to the wall, assess its condition and type:
Wall Type: Identify if your wall is solid brick, cavity wall, or timber frame/brick veneer. Solid brick provides a strong fixing point, while cavity or veneer walls need specialist fixings that anchor into the structural frame behind the outer layer.
Condition of Materials: Inspect for damage or weakness, including:
- Cracks spreading across multiple bricks or surfaces
- Crumbling or soft mortar
- Flaking or spalling of brick or render (a sign of weather damage)
- Rot or warping in timber sections (like fascia or rafters)
Load-Bearing Capacity: Ensure the wall can safely support the pergola’s weight and wind load. If uncertain, consult a structural engineer to evaluate and recommend any reinforcements needed.
Plumb and Level: Check that the wall surface is vertical and level before fixing anything. Uneven walls can compromise both strength and appearance.
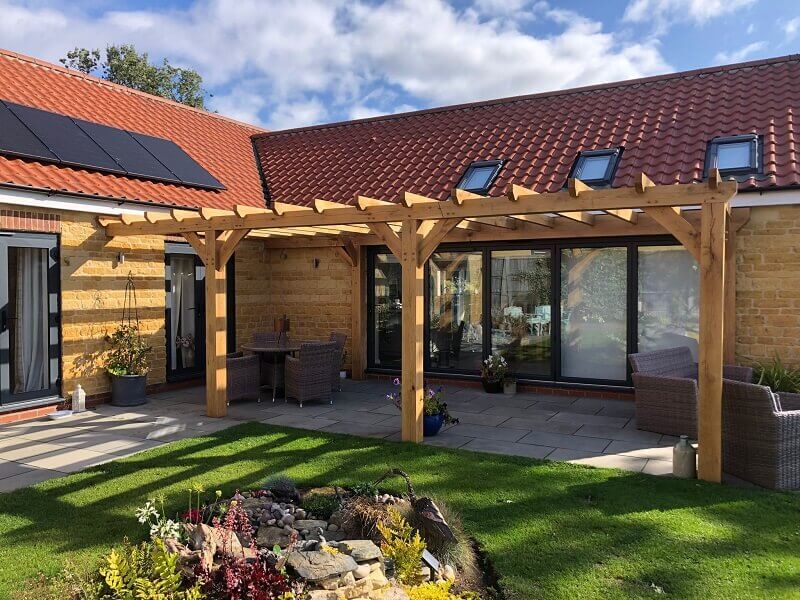
4. Wall Attachment
Fix a ledger board (also known as a wall plate) securely to the house wall. Use heavy-duty resin bolts or specialist anchors to ensure a safe, lasting connection. For timber-framed walls, locate the studs for strong fixings. Above doors or windows, confirm the lintel can carry the extra load—reinforce if necessary.
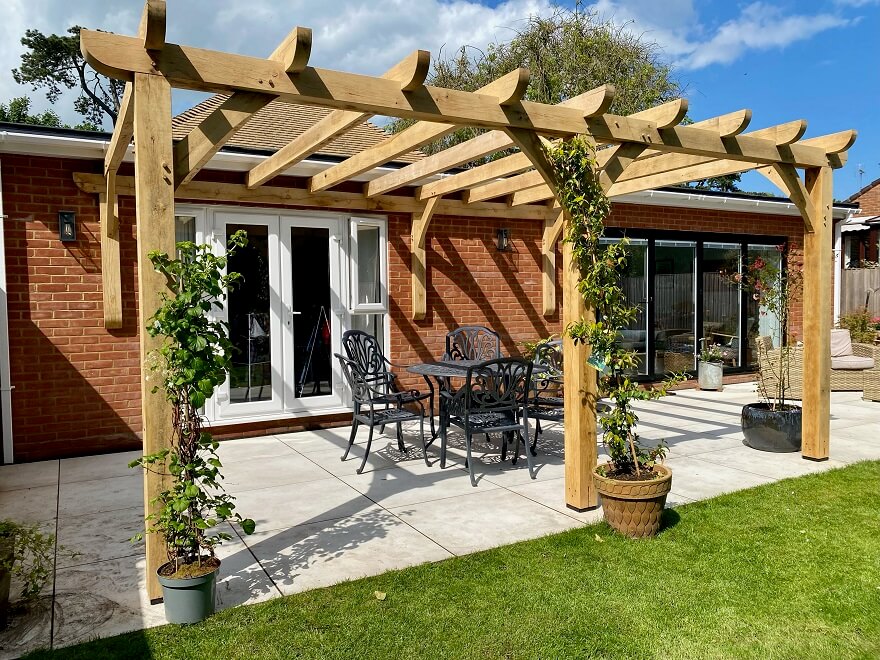
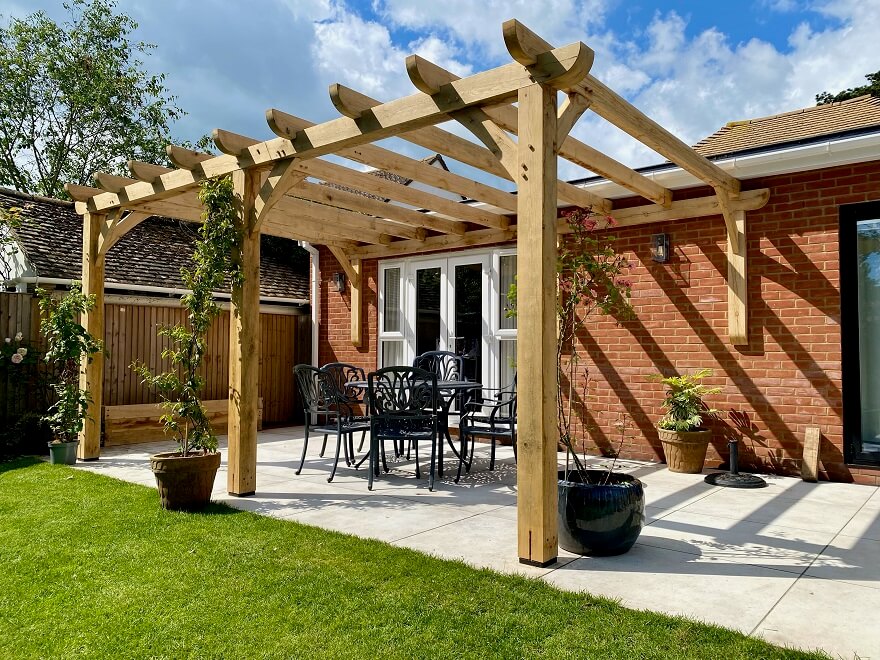
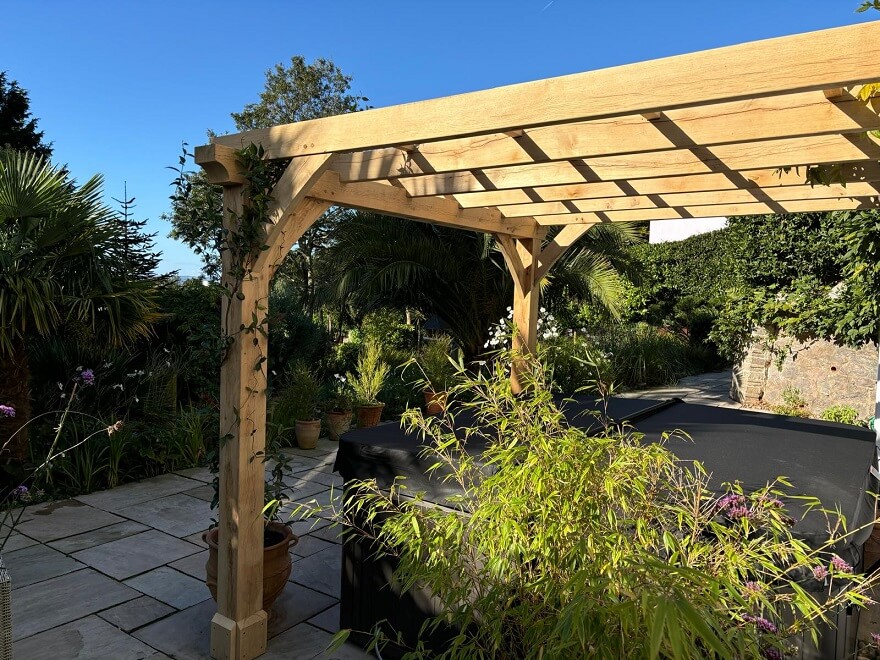
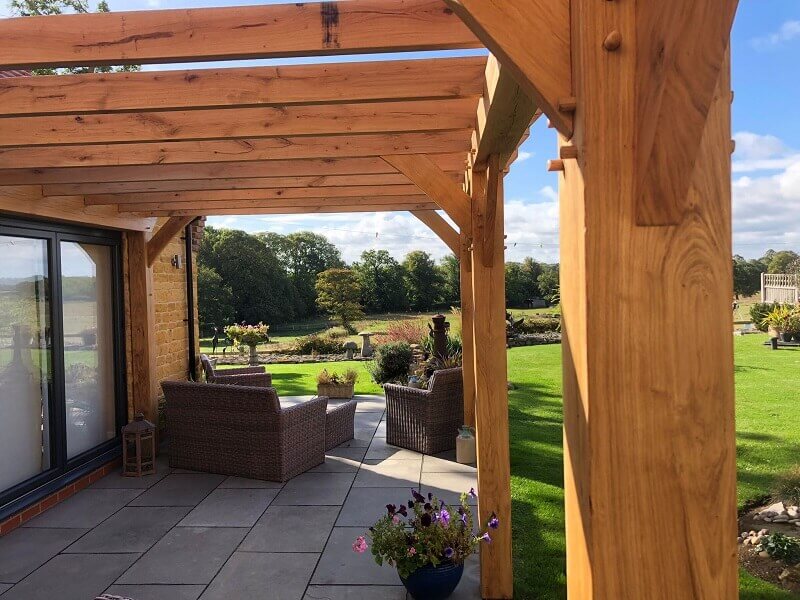
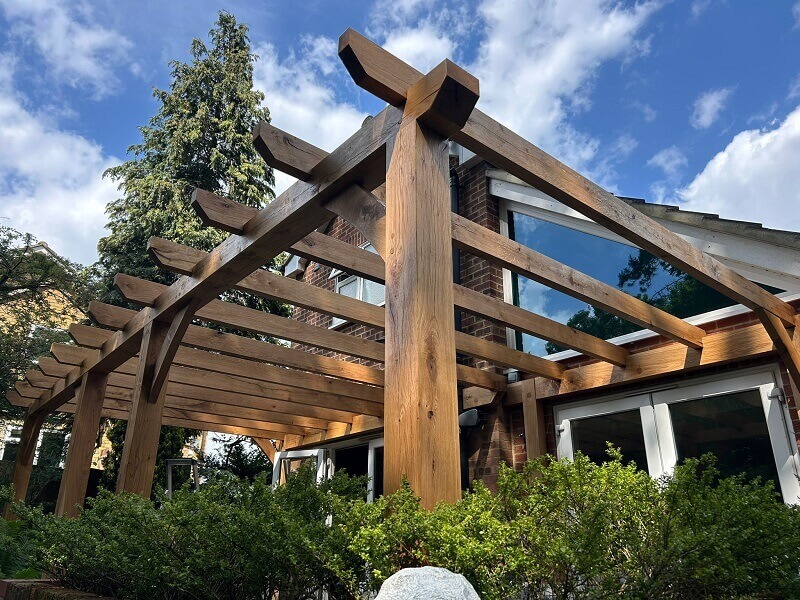
5. Install Posts, Braces, and Horizontal Beams
Position your oak posts on the prepared base and ensure they’re perfectly vertical. Secure them in place, then attach the front beam (headplate or top plate) across the tops of the posts. Add diagonal braces for stability and a refined, balanced appearance.
6. Fit Rafters or Roof Panels
For an open design, evenly space the rafters between the wall plate and front beam (typically 400–600 mm apart). For a covered pergola, add purlins and install roofing material such as polycarbonate, glass, or cedar shingles. Maintain a 5-degree slope for rainwater runoff.
7. Check Alignment and Finish
Verify that all joints are square, tight, and level. Sand or oil the oak for a smooth, polished look. Applying UV-protective oil will preserve its warm tones, while leaving it untreated will allow it to weather to a natural silver-grey patina. Consider adding gutters for effective drainage on solid roofs.
8. Enjoy Your New Pergola
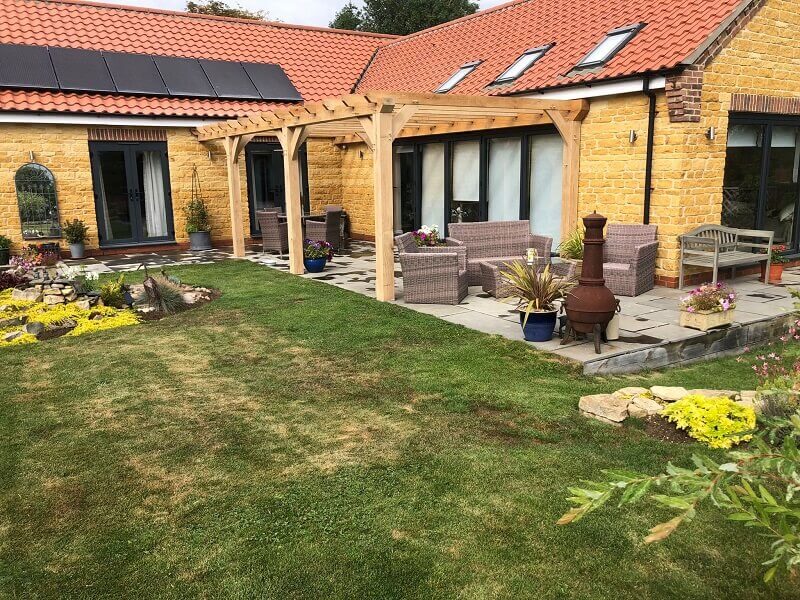
Your oak lean-to pergola is now ready to enjoy year-round. It provides shelter, beauty, and a seamless transition between your home and garden. Add outdoor furniture, climbing plants, or lighting to complete your space.
Final Thoughts
Building an oak lean-to pergola—whether DIY or with professional help—is a rewarding project that enhances both style and function. By assessing wall strength, checking windows and gutters, preparing solid foundations, and following careful assembly steps, you’ll create a lasting structure. For precision-cut, UK-made oak pergola kits, contact Timber Solution for expert advice and custom designs built to fit your home perfectly